Welcome to Squadra916
Register now to gain access to all of our features. Once registered and logged in, you will be able to contribute to this site by submitting your own content or replying to existing content. You'll be able to customize your profile, receive reputation points as a reward for submitting content, while also communicating with other members via your own private inbox, plus much more! This message will be removed once you have signed in.


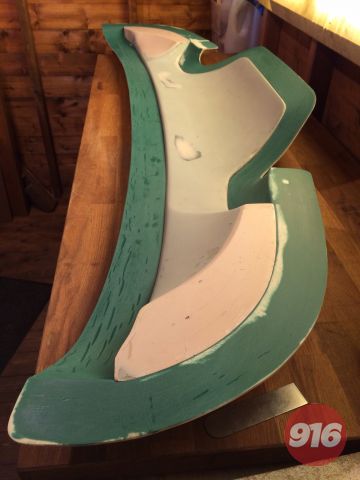
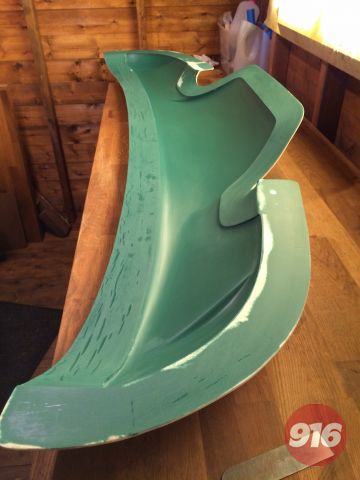
Rear Diffuser
Sign in to follow this
Followers
0


Album created by
reveds1969
reveds1969
- 14 images
- 1 comment
14 images
-
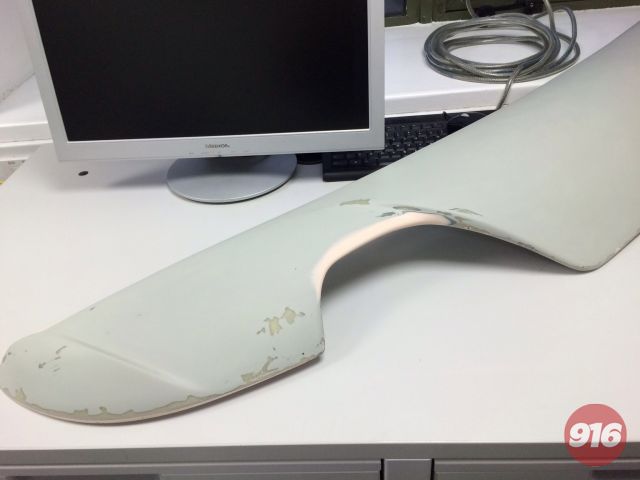
 Outer part of component By reveds1969
- 0
-
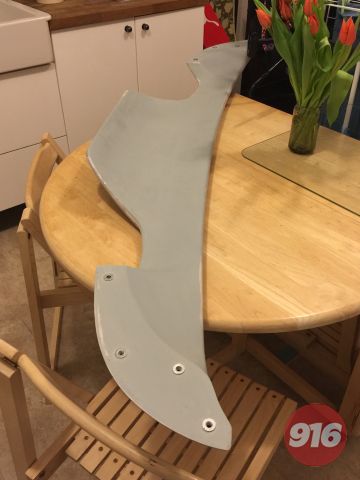 Inner part of component By reveds1969
- 0
-
 IMG 0619 By reveds1969
- 1
-
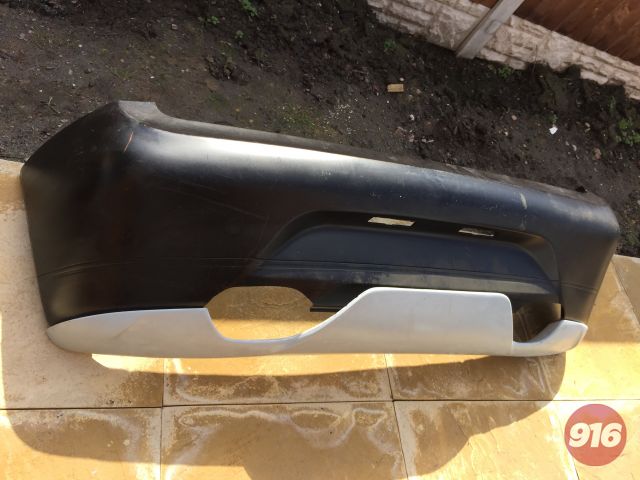 image4 By reveds1969
- 0
-
 image1 By reveds1969
- 0
-
 The model is returned to the mould and the release wax stage starts over again ready to make the other half of the mould. By reveds1969
- 0
-
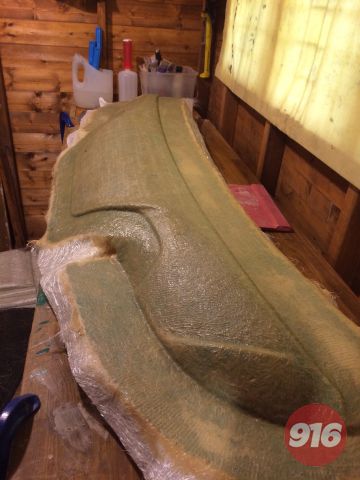
 Thte mould joint is tweaked to suit my final fit and all rough edges removed By reveds1969
- 0
-
 The odd side has done its job and now is in the bin need to clean those edges up By reveds1969
- 0
-
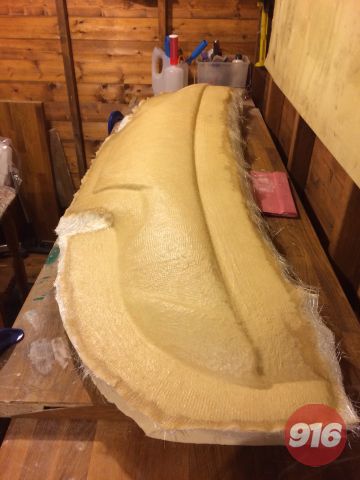 Filled by five more heavyweight layers of glass fibre using the non sharing tooling resin By reveds1969
- 0
-
 After the gel tacks one layer of tissue then first layer of glass fibre goes on I have used an expensive non sharing tooling resin for this By reveds1969
- 0
-
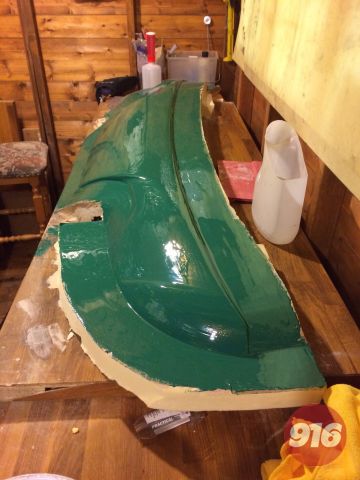 good tooling Gel coat goes on first By reveds1969
- 0
-
 First part of mould ready to go By reveds1969
- 0
-
 Reworking of pattern By reveds1969
- 0
- Reworking of pattern By reveds1969
- 0
Sign in to follow this
Followers
0
-
Image Comments
-

By Phase3dude · Posted
Wow... Uber cool. Where did you get the modified phase 2 front splitter please?
-

-

-

-
 Amazing photography of an amazing example of the 916 Spider. Love it!
-
-
Gallery Statistics
